I signed up for a new VoIP SIP account with Australian Phone Company. They offered secure VoIP accounts using TLS/SRTP and local DID numbers which made them an excellent choice.
The question was how to set up TLS/SRTP in CSipSimple? I followed the advice in this forum post which forms the basis of this tutorial.
First click on the account list button in CSipSimple as circled in red in the following image.
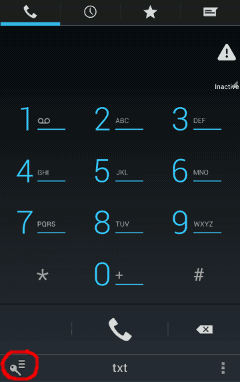
Select the account list button in CSipSimple
Then choose to add a new account.

Add a new account in CSipSimple
Scroll down the selection of account creation wizards until you find “Expert” and select this.

Find and select the Expert wizard in CSipSimple
Enter your account name, account ID, registration URI (you can use a full domain name here but I put in an IP address for speedy connect that avoids the domain lookup), username and password.
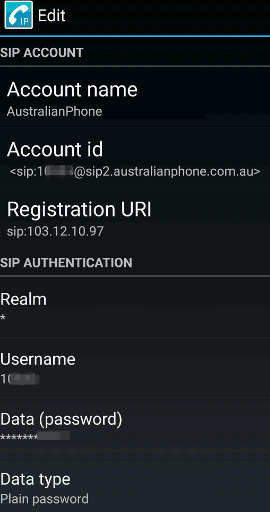
Enter standard registration details into CSipSimple
Then scroll down the items you can configure in this wizard until you find “Transport”. Choose this.
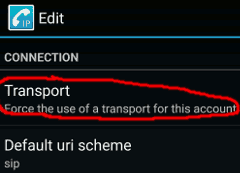
Find transport in the wizard and select it in CSipSimple
Next select “TLS” as your transport. This can only be done in the Expert wizard which is why we choose it.
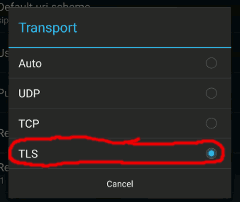
Select TLS as your transport in CSipSimple
Finally scroll further down the wizard and find the SRTP option and choose it to be mandatory for this connection.
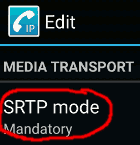
Set SRTP to be mandatory for this connection in CSipSimple
And you’re done, you can save the connection!
You may have to go into the generic settings for CSipSimple and turn “TLS” to enabled, and SRTP to “optional” in order for this to work.
This is what I did and I have a secure connection to Australian Phone Company and a local Australian phone number.


Recent Comments